In HipChat
Navigate to Rooms / YOUR ROOM NAME / Tokens and create a new token. NOTE: we support OAuth2 and not OAuth1 tokens. Link: https://hipchat.com/rooms

Note: If you already have a HipChat token, please check whether it contains only lower case letters. If so, it is probably an OAuth1 token. We support only OAuth2 tokens. Please create OAuth2 token as described above.
Note: There are two possible ways to create HipChat OAuth2 token:
A) Under room as described above. If you use this you will see messages from SPM with the nickname you define in the Token Label input.
B) Under user via https://hipchat.com/account/api. If you use this option you will see all messages from SPM with you own nickname.Copy the HipChat Room Token because you'll need to paste it in later (see below).
In SPM or Logsene
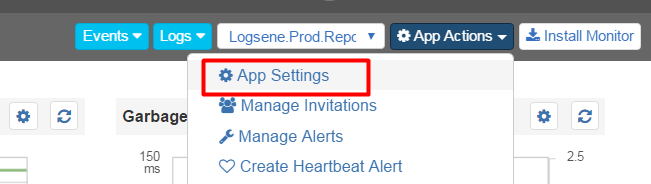
1. Navigate to “App Settings“ of your App by clicking the “App Actions“ button.
2. Navigate to “Alerts / HipChat“
Add your HipChat token and Room Id.
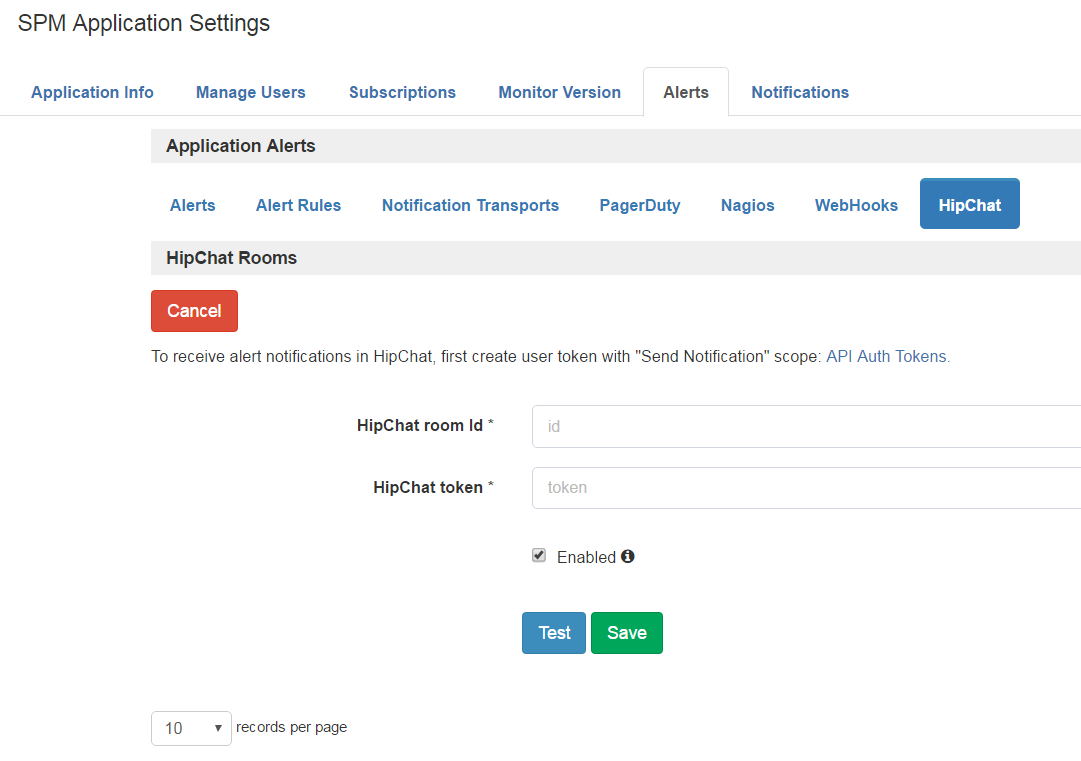
Note: You could add Room Id or Room Name. Both options are possible.
Click the “Test” button and when HipChat returns status code 200 or 204 you will know everything is configured correctly. Check your HipChat channel for the test message from Sematext.

To enable alerting to HipChat activate the “Enabled” checkbox, as shown in the screenshot above.
Click the “Save” button.
That's it. Notifications sent to HipChat can also be sent via other channels such as e-mail, PagerDuty, Nagios, Slack, custom Web Hook, etc. - at the same time, the alert is displayed in the SPM event graph to overlay it with the triggering metrics:
